
I started working on my fly order on friday and going through my list I wanted to do the most time consuming ones done first. The shop really liked my shiners and asked if I could do a sculpin version of it. I thought and thought cause I needed to pick the right colors of super hair and beads. I studied pictures of the fish and came up with a good pattern. I tied these a little longer than my shiner and used bigger eyes cause the natural fish has big eyes. The biggest feature of the sculpin is the the large front fins. Here is my creation I came up with.

Shultry Sculpin
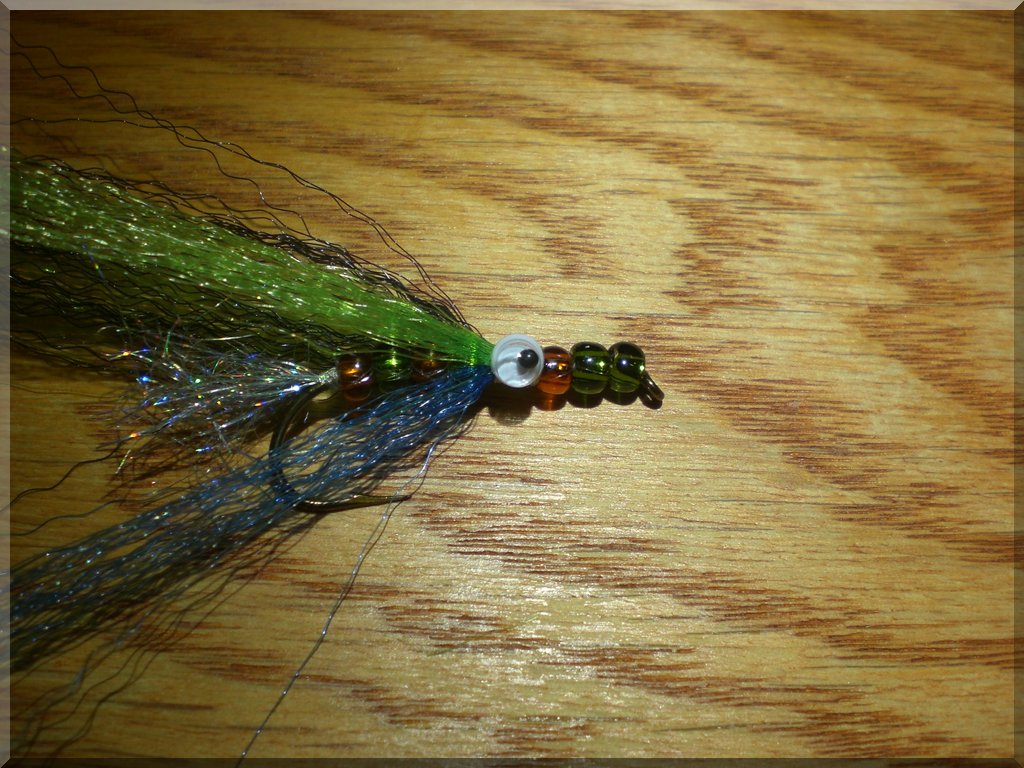
Hook: Mustad 3366 size 6
Thread: Clear mono thread
Body: Green and Brown 6/0 Glass Beads
Inner Tail: Lite Bright holographic silver
Tail: Top black, sides green, bottom blue super hair
Head: 2 green and 1 brown 6/0 glass beads
Eyes: extra small doll eyes
Fins: Pheasant
Fins: Pheasant
Glue: 6 coats of hard as nails
This is not the best step by step but this shows the steps. I could not tie the tail off and hold the camera at the same time so I couldn't take a picture of it. To get the curve of the body is quite simple. Just leave yourself a little slack and it naturally will curve like above.
As you can see from the below pictures that multiple layers of hard as nails fills the grooves of the beads and it keeps the eyes on while fishing.


As you can see from the below pictures that multiple layers of hard as nails fills the grooves of the beads and it keeps the eyes on while fishing.


Here is all the ones I got finished so far. These have been very time consuming. I use this foam so I can put the hard as nails on without them moving and I can do them all at once.
No comments:
Post a Comment